How to edit a talking head video on your Mac
You recorded yourself talking into the camera. The content is good, but the raw file has pauses, a horizontal frame and no subtitles. Turning it into a reel usually means an hour in a timeline. This guide explains what editing a talking head video involves and how BangerClip does it on your Mac without a timeline.
What is a talking head video?
A talking head video shows one person speaking directly to the camera, usually framed from the chest up. It is the classic format for experts: a coach explaining a method, a doctor answering a question, a founder sharing a lesson. It is simple to record and builds trust, because people see who is talking. What makes it work on social media is the edit.
What editing a talking head video involves
Whatever tool you use, the job is roughly the same:
- Cut the pauses. Gaps between sentences feel twice as long on a phone. Removing them creates the quick jump cut rhythm typical for Reels.
- Reframe for vertical. Most cameras record horizontally. For 9:16 the frame has to follow your face, or you end up cut off at the edge.
- Add subtitles. Word by word, readable, spelled right.
- Add something visual. Graphics, numbers or keywords on screen keep a single shot from feeling static.
- Fix the sound. Even loudness, a little cleanup, music that doesn't fight your voice.
- Export per platform. 9:16 for Reels, TikTok and Shorts, 1:1 for LinkedIn, 16:9 for YouTube.
In a classic video editor, each of these is a manual step. BangerClip does them in one go.
How BangerClip edits your talking head video
BangerClip is a Mac app that builds finished clips. With Pro, it works directly from video through a feature called From video. You drop your file in, choose Talking head, and BangerClip does this:
- transcribes your speech locally and finds the pauses,
- cuts picture and sound with the same cut list, so your lips stay in sync,
- finds your face with Apple's Vision framework and keeps it in the vertical frame with a smoothed crop,
- places graphics next to your face (below the chin or above the head, never over your mouth),
- adds word by word subtitles in the style you chose,
- cleans up the sound and adds music if your preset asks for it.
The video itself never runs through a browser or a server. BangerClip renders the subtitles and graphics as a transparent layer and puts it on top of your cut video with ffmpeg, on your Mac.
Step by step
- Drop your video into the Studio. Or use “choose a file” or ⌘O. MP4, MOV and M4V work, including H.264, HEVC and ProRes, up to 15 minutes for talking head.
- Choose Talking head. A sheet asks “What should it become?” with three cards: Talking head, Best moments and Just the audio.
- Pick a preset. Presets bundle length, formats, look, subtitle style, layout, music and an end card. Built in are “Reel 30 s, hook first”, “LinkedIn 60 s, 1:1” and “Talk as spoken”.
- Let it build. You see the steps in the Studio, just like with voice recordings.
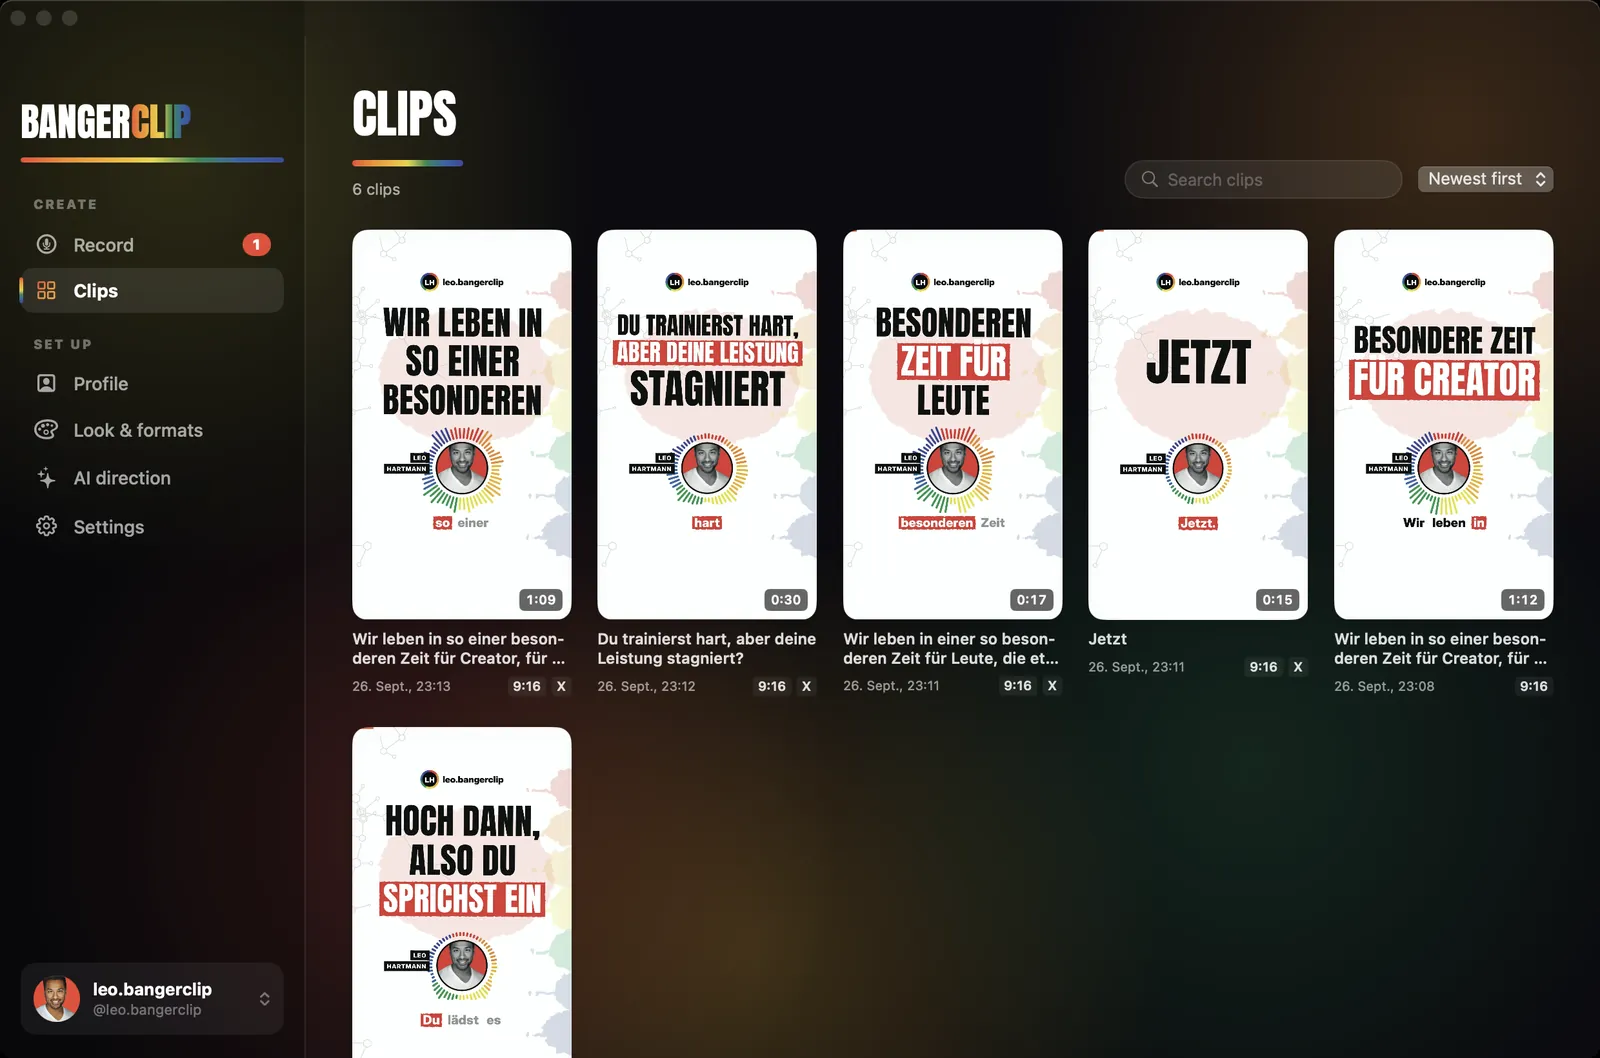
- Check and adjust. In the library, video clips carry a “Video” badge. You can render a clip again with another layout or subtitle style, or fix subtitles line by line.
- Share. Caption and hashtags are written for you. One click per channel, or AirDrop to your iPhone.
Layouts and subtitle styles
Three layouts: Full frame (the default, video fills the frame, graphics next to your face), Split (video on top, graphics below) and In the sound ring (your video round in the ring, like the photo in voice clips). Three subtitle styles: Marker, Box and Big. You can save your own presets under Look & formats.
Try it with your next idea
Free: 3 clips a month, no credit card. For Macs with Apple silicon and macOS 14 or later.
Tips for recording a talking head video
- Keep your face at eye level and leave some room above your head. The vertical crop needs space to follow you.
- Light from the front, a window works well. Face tracking and viewers both like a clearly lit face.
- Use a microphone close to you if you can. Good sound matters more than a sharp picture.
- Don't restart, pause. If you stumble, stop for a moment and say the sentence again. Pauses get cut automatically.
- Lead with the point. The preset “Reel 30 s, hook first” is made for clips that start with the strongest sentence.
Recorded a whole webinar or podcast instead? Then long video to shorts is the better guide. For subtitles on their own, see adding captions to Reels.
Free or Pro?
Working from video is part of Pro. On Free, the video cards show a Pro lock, but Just the audio works for everyone: BangerClip takes the sound of your video and builds a voice clip with your photo in the sound ring.
Free
- 3 clips per month
- 9:16 for Reels, TikTok and Shorts
- Watercolor look
- Rule-based direction, plus 2 AI test clips with your own Claude
- Short “Made with BangerClip” end card
Pro $9 a month or $79 a year
- Unlimited clips and unlimited AI direction with your own Claude
- From video: talking head and best moments
- 9:16, 1:1, 16:9 and its own X version, all four looks
- Your own asset box with your photos, videos and logos
- No end card
Honest limits
- Talking head works for videos up to 15 minutes. Longer recordings go through Best moments.
- BangerClip cuts pauses. It doesn't remove every “um” in the middle of a sentence.
- Video clips don't have a separate X version yet.
- Your original file is read, not copied. Keep it in the same place if you want to render the clip again later.
- Mac with Apple silicon and macOS 14 or later, English and German speech.
FAQ
What is a talking head video?
A video in which one person speaks directly to the camera, usually framed from the chest up. It is a common format for experts, coaches and educators on Reels, Shorts and LinkedIn.
Can I use videos from my iPhone?
Yes. iPhone videos are MOV files in HEVC or H.264, and BangerClip reads both. AirDrop the video to your Mac and drop it into the Studio.
Is my video uploaded anywhere?
No. Cutting, face tracking and rendering run on your Mac. Only the transcript text goes to your own Claude when AI direction plans the graphics.
Is talking head editing included in the free version?
No, it is part of Pro ($9 a month or $79 a year). With Free, you can still use the audio of a video to build a voice clip with your photo.